Although Woocommerce uses categories like a normal WordPress blog, it also adds the concept of attributes that can give you and your users finer control when categorizing and searching for products. In this article, we’ll take a look at how to set attributes up and what you might use them for. We’ll also take a look at how you can access attributes in your PHP code.
Why would you use Attributes in Woocomerce?
Why do we need attributes when we already have categories?
Click here to enroll in our Free WooCommerce Coding Course
Well, lets image we have a clothing store that sells shirts, trousers, socks, and shoes. We could use categories to separate our products which would leave us with categories for shirts, trousers, socks, and shoes. But what if we also wanted to categorize our products by color? This would allow customers to search for say orange items, and that would allow them to buy a matching orange ensemble (man – they’re going to look good!).
Creating Attributes in Woocomerce
Before we start creating an attribute it’s worth pointing out that there are two types of attributes in Woocommerce. Global attributes that can be applied to all products in your store and custom product attributes that only apply to a single product.
Adding a Global Attribute
Adding an attribute is relatively simple, from the left-hand menu choose “Products” and then “Attributes”, the fields you have to fill in are fairly straight forward so I won’t go through them here
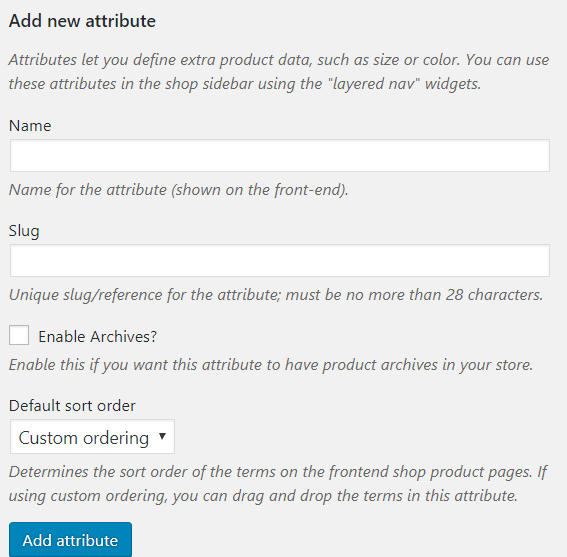
Once you’ve added an attribute, you can add “terms” to it, we can think of terms as children of the attribute. So if we created an attribute named “Color” we might expect it to have terms (or children) named red, green, yellow and blue.

Adding a Custom Product Attribute
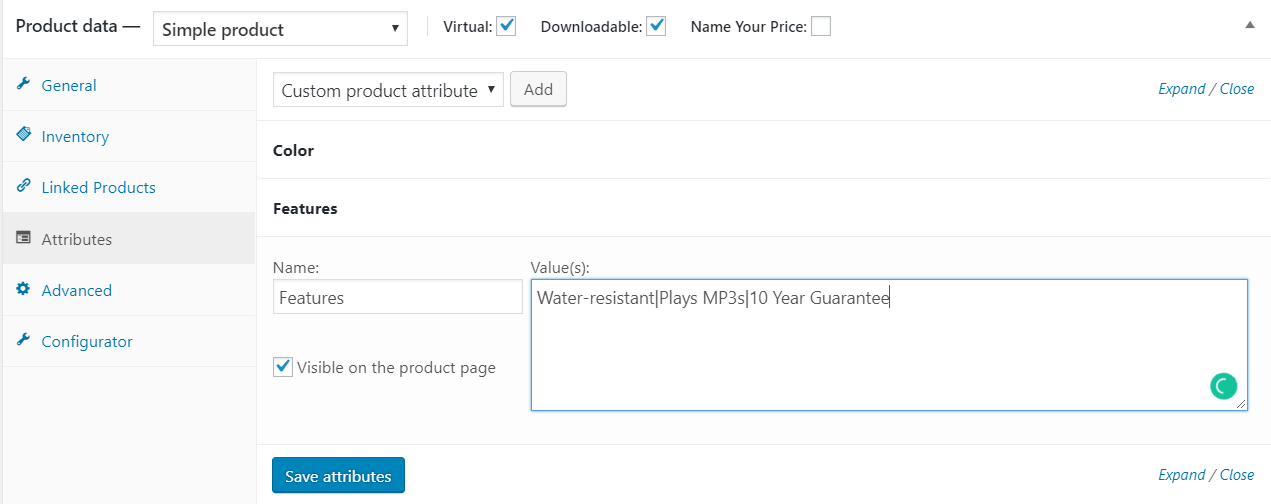
To add a custom product attribute go straight to the “Attributes” tab on the products edit screen, from there choose the “Custom product attribute” from the dropdown. You should then fill in the field as prompted.
If you’d like more information on how attributes fit into the process of adding products to your store then Online Trade Marketing has an excellent article on adding products in WooCommerce that gives further details of how you should use attributes when creating products.
What’s the Point of Custom Product Attributes?
Given that you can’t filter using custom product attributes you might wonder what the point is. Adding a custom attribute to a single product just links the attribute and its terms to that product, and aside from displaying the attributes on the product page, you’ll get no other benefits unless you are running any custom code or plugins.
Custom attributes do perform a more important function when used in conjunction with variable products though, we won’t go into this functionality in this article but it’s definitely something worth looking into if you want to glean some further unerstanding about attributes.
Filtering by Attributes in Woocomerce
The first step to filtering by an attribute is to assign an attribute to a product, you can do this by editing a product and selecting the “Attributes” tab
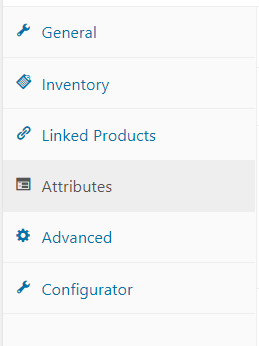
Once you’ve accessed the tab you can choose which attribute you want to add from the “Custom product attribute” dropdown, once you’ve chosen the attribute you require Woocommerce allows you to choose specific terms, you can see from the example below that I’ve added the “Blue” term to the product.
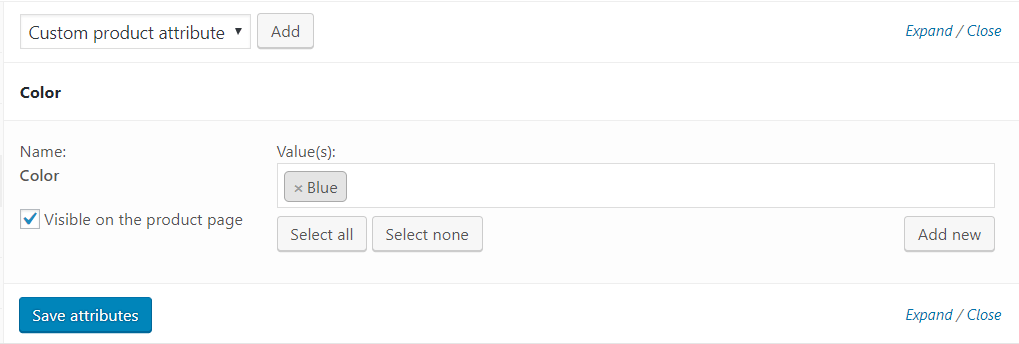
If you check the “Visible on the product page” checkbox then, when you visit the product’s page you will see the attributes you’ve added listed within the “Additional information” area of the screen.

If you want the user to be able to drill-down into a category and see other products that share the same attribute (which would be other blue products in this example) if you check the “Enable archives?” checkbox on the edit attribute screen then Woocommerce will automatically do this for you.

Once this is done, clicking on “blue” will show you a page of all the blue products in your store.

If you look at the URL of the page displaying the attribute products you should see something similar to – “http://yourwoosite.com/color/blue/”, the SEO/prettified link is also due to the “Enable archives?” checkbox on the edit attribute screen being checked. If the option had not been checked then the URL wouldn’t work, but you could still access the terms using a non-prettified URL. In the example above the following URL would show you all the “blue” products “http://yourwoosite.com/?taxonomy=pa_color&term=blue”.
The “Filter Products by Attribute” widget
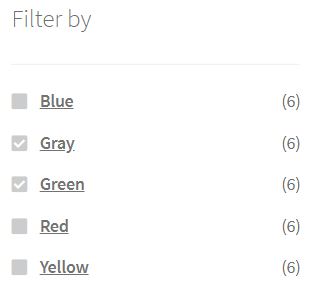
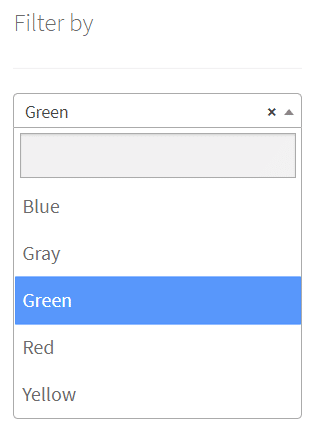
If you want to provide users with an easy way to filter products by attribute Woocommerce provides a widget that you can add to your site. The “Filter Products by Attribute” widget has two different display modes
You can show a list of attributes
Or a drop-down list
You can also choose whether to do an “and” or “or” search on the attributes. There are more sophisticated filtering options available as paid plugins, but as a free option, the “Filter Products by Attribute” widget is definitely worth considering.
Accessing Product Attributes via PHP
The snippet below will output a single (it won’t work for variants) product’s attributes and terms beneath the product’s description.
function hwn_get_attributes_and_terms_for_product() {
    global $product;
    $attributes_and_values = array();
    foreach ($product->get_attributes() as $attribute) {
        if ($attribute->is_taxonomy()) {
            array_push($attributes_and_values, $attribute->get_taxonomy_object()->attribute_label.": ".$product->get_attribute( $attribute->get_name() ));
        }
        else {
            array_push($attributes_and_values, $attribute->get_name().": ".implode(", ", $attribute->get_options() ));
        }
    }

    echo implode("<br>",$attributes_and_values);
}


add_action( 'woocommerce_single_product_summary', 'hwn_get_attributes_and_terms_for_product', 25 );
If you want to list all of the product attributes in a store and provide links to a filter for each of the terms below each attribute then the code below should do the trick.
Click here for more details about the "Learning WooCommerce Development By Example" book
global $wc_product_attributes;

$attributes = $wc_product_attributes;

if ( $attributes && ! empty( $attributes ) ) {
    foreach ( $attributes as $attribute ) {
        $terms = get_terms(array( 'taxonomy' => 'pa_'.$attribute->attribute_name));
        foreach ($terms as $term) {
            $term_id = $term->term_id;
            $term_link = get_term_link( $term, 'pa_'.$attribute->attribute_name );
            $term_name = $term->name;
            echo '<a class="ccats" href="' . $term_link . '"><span class="label">(' . $attribute->attribute_label. ") - " . $term_name . '</span></a><br>';
        }
    }
}

