You may have already used the WooCommerce shortcodes when building your WooCommerce store, they’re super useful when you want to add a piece of WooCommerce functionality to a normal WordPress page.
But how can you best take advantage of the functionality that the shortcodes provide and which are the best shortcodes to use, and when should you use them?
Click here to enroll in our Free WooCommerce Coding Course
To the use shortcodes to their best effect, you’ll need to understand the different options that each shortcode provides and how you can use them to display the information that will lead your customers to buy products and put money in your bank account.
In this guide, I’m going to go through each shortcode to display what it does and where to use it. I’ll also provide generators to allow you to create shortcodes that are perfect for your store (in seconds).
What is a Shortcode? And how to add one
The Product Shortcode – How to use the most Powerful in Shortcode in the WooCommerce Toolbox
Product Shortcode Scenarios for every Eventually that you can tweak in Seconds
How to add Custom Ordering Logic to the Product Shortcode
Get your Store Categories Noticed with the Product Category shortcode
The Product and Related Products Shortcodes
How to make adding links to buy your Products a cinch with the Add to Basket Shortcodes
What is a Shortcode? And how to add one
In WordPress shortcodes are used to quickly add content, a shortcode can be placed in the WordPress editor and once the page is viewed the shortcode will be replaced with content.
As an example, let’s imagine a shop wanted to show their opening hours on their website, rather than adding a load of info and HTML mark-up to every page we could just create a shortcode, something like this –
[openinghours]
This would then show the shop’s opening hours on every page it was added to.
It’s important to point out that the shortcode above won’t work out of the box, we would need to add some code to WordPress to get it to work.
Shortcodes in WooCommerce
So now we understand what a shortcode is, how can they help us in WooCommerce?
When you install the WooCommerce plugin you get given a number of shortcodes. For example, let’s imagine you wanted to show 4 products from the t-shirt category on a page or post, rather than hiring a developer to do this for us we can just add a shortcode to the page or post we want the products to be displayed on. If we add the following to a post or page on a WordPress site where WooCommerce is installed –
[products category="tshirts" columns="4" limit="4"]
then without any further work from our side, when the content is viewed the following will be displayed.
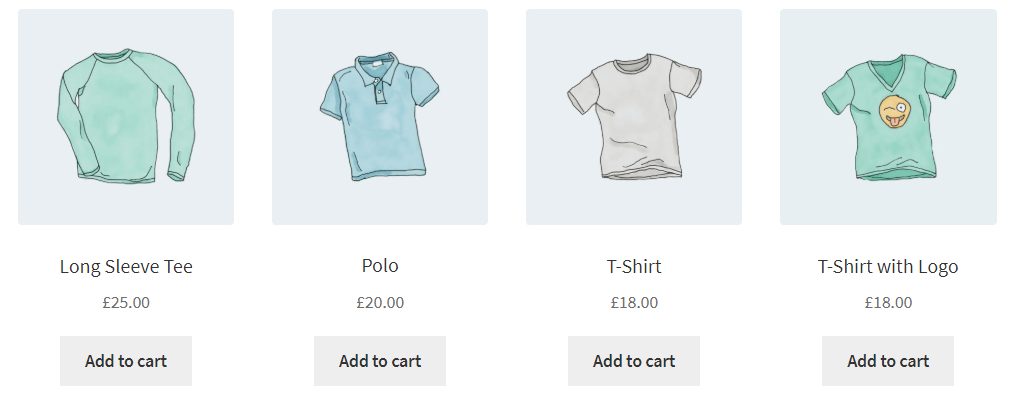
Note how 4 t-shirts are shown in a single row, we specified this by the values we passed to the “columns” and “limit” arguments. We’ll look at what other options we can set and what values we can assign to them to later in this article.
How to add a Shortcode to a Page or Post
Adding a shortcode is a straightforward process, but the method changes slightly depending on whether you are using the classic or Guttenberg editor.
With Guttenberg
From the add block command search for the “Shortcode” widget
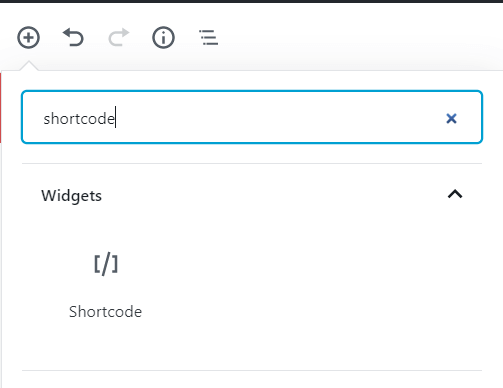
Select the “Shortcode” widget and then enter the shortcode text into the space provided

With the Classic Editor
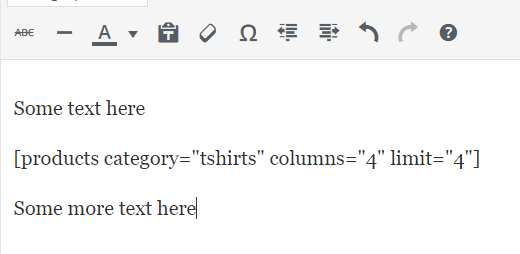
If you’re using the classic editor then you can enter the shortcode text directly in the editor
The Product Shortcode – How to use the most Powerful in Shortcode in the WooCommerce Toolbox (with generators!)
The products shortcode has the most options of all the available shortcodes, and the different options can be a little hard to keep a track of.
For this reason, we’ve designed a product shortcode generator, if you fill out the fields below (there is help available to describe what each field does – just hover over/click the question marks) and click the “Create Shortcode” button, then we’ll generate a shortcode for you that you can paste straight into your page.
Product Shortcode Scenarios for every Eventually that you can tweak in Seconds
Hopefully the generator will help you to create your shortcodes.
Sometimes, it’s easier to create by “being inspired by” (copying) something else. For this reason I’ve included all the “product” shortcode examples from the WooCommerce documentation below. As an added twist I’ve included a “Populate Generator with Shortcode” button underneath each shortcode. If you click this button it will populate the generator with the shortcode’s details. The idea here is that you can then alter the shortcodes details via the generator and create exactly what you need.
Here are the shortcodes ….
Example 1 – Show Four Sale Items Sorted by Popularity
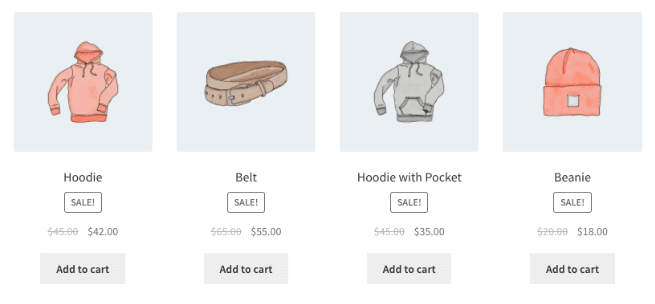
The shortcode below will show four items in a four column grid. The products will be order by popularity and only products that are on sale will be shown.
[products limit="4" columns="4" orderby="popularity" class="quick-sale" on_sale="true" ]
Example 2 – Show Featured Products
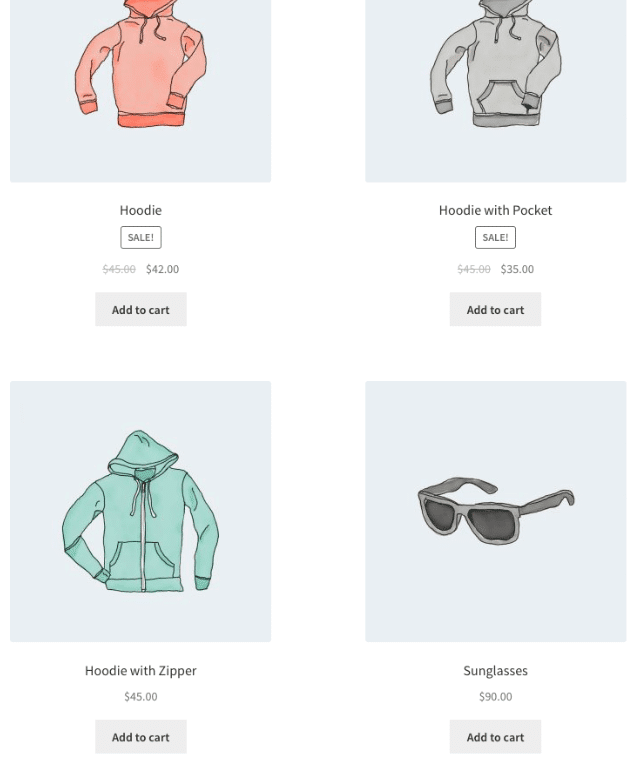
The shortcode below will display a maximum of four featured products, their will be a maximum of two products on each row.
[products limit="4" columns="2" visibility="featured" ]
Example 3 – Show the Best Selling Products
The shortcode below will show three best selling products, with maximum of three products per row.
[products limit="3" columns="3" best_selling="true" ]
Example 4 – Show the four Newest Products
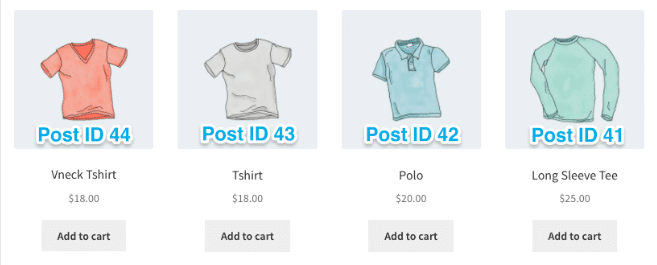
The shortcode below will display the newest products in store with a maximum of four products on each row. The shortcode orders the products in reverse id order, meaning that the 4 newest products will be displayed.
Example 5 – Show Products from Two Specific Categories
The shortcode below will show a maximum of 8 products from the hoodie and t-shirt categories. A maximum of 4 products will be displayed on each row.
[products limit="8" columns="4" category="hoodies, tshirts" cat_operator="AND"]
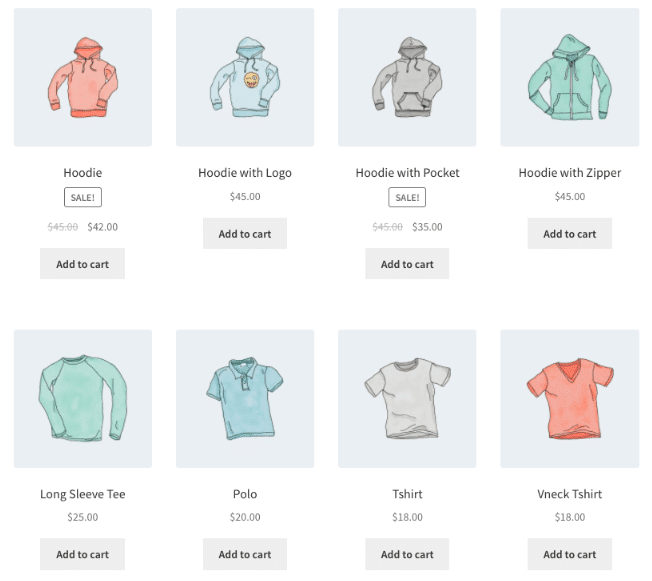
If we wanted to change the shortcode to show products that were NOT in the hoodies and t-shirt categories we could do that by changing the cat_operator argument to NOT IN
[products limit="8" columns="4" category="hoodies, tshirts" cat_operator="NOT IN"]
Example 6 – Show Products with an Attribute that have certain terms.
Let’s imagine we have a “season” attribute with the terms autumn, winter, spring and summer. The shortcode below will show all of the products with a season attribute set to “summer”. The products will be sorted by date to show the newest products first.
[products columns="3" attribute="season" terms="summer" orderby="date" order="desc"]
If we wanted to only show products with a season attribute NOT set to summer we could a the “terms_operator” argument and set it’s value to “NOT IN”.
[products columns="3" attribute="season" terms="summer" orderby="date" order="desc" terms_operator="NOT IN"]
How to add Custom Ordering Logic to the Product Shortcode
On the official Woocommerce shortcodes documentation page they provide an example code snippet that allows you to sort products by a custom field.
At the time of writing the Woocommerce site doesn’t include any documentation for the snippet, which makes it tricky to alter for your own purposes.
As part of this guide, I thought it would be useful to document the snippet, let’s go through it line by line –
add_filter( 'woocommerce_shortcode_products_query', 'woocommerce_shortcode_products_orderby' );

function woocommerce_shortcode_products_orderby( $args ) {

    $standard_array = array('menu_order','title','date','rand','id');

    if( isset( $args['orderby'] ) && !in_array( $args['orderby'], $standard_array ) ) {
        $args['meta_key'] = $args['orderby'];
        $args['orderby']  = 'meta_value_num';
    }

    return $args;
}
Before we start going through the code it is worth pointing out that the WooCommerce shortcode functionality works by passing arguments to the WP_Query object based on the information supplied to the shortcode as attributes. If you need to brush up your understanding of how WP_Query works you can find the Codex docs for it here.
- Line number 1 registers the woocommerce_shortcode_products_orderby function with the woocommerce_shortcode_products_orderby action.
- Line number 5 of the code snippet sets up an array of orderby values, it does this to avoid updating the orderby value of the query if the orderby value is already set to a value that WooCommerce recognizes. If the orderby value is set to a recognized value then there is no need to update the orderby logic as WooCommerce will be able to order the products by any of the values contained in the array.
- On line 7 the function checks the value of $args[‘orderby’], this value will correspond with the “orderby” value specified in the shortcode. If the value is set and is not in the array of orderby values set up on line 5 then the function progresses to the logic that updates the orderby value.
- Line number 8 sets the ‘meta_key’ value of the args array to be the value passed in the “orderby” element of the args array, in order for the function to work this value must correspond to a valid meta key.
- Finally, line number 9 sets the “orderby” element of the args array to be ‘meta_value_num’, having set the “meta_key” and “orderby” value of the args array we have set the query up in a way that will order it’s results by the meta key value passed in the “orderby” value of the shortcode. By setting the “orderby” value to “meta_value_num” then we ensure the meta values are sorted as numerical values rather than strings.
So, if we wanted to use the code snippet to order products by their price we could use a shortcode similar to the one below –
[products limit="16" columns="4" orderby="_price"]
Here we supply the value “_price” to the “orderby” attribute of the shortcode. As the value “_price” is the metakey that WooCommerce uses to store the price value against then the shortcode will return our results order by price as below.
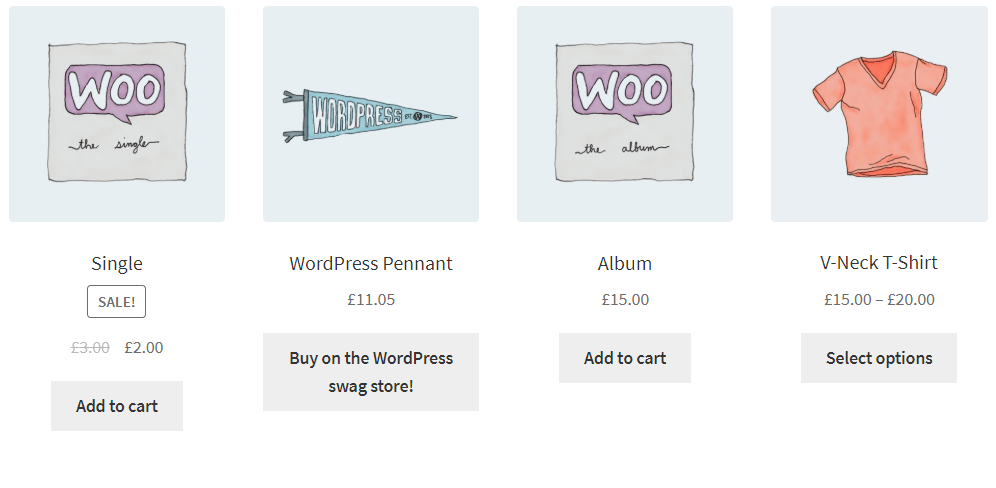
As you can see the products are ordered by price in ascending order (lowest to highest) if we wanted to order them in descending order (highest to lowest) then we could do that by setting the “order” attribute to “DESC”
[products limit="16" columns="4" orderby="_price" order="DESC"]
The products should then be displayed in descending order
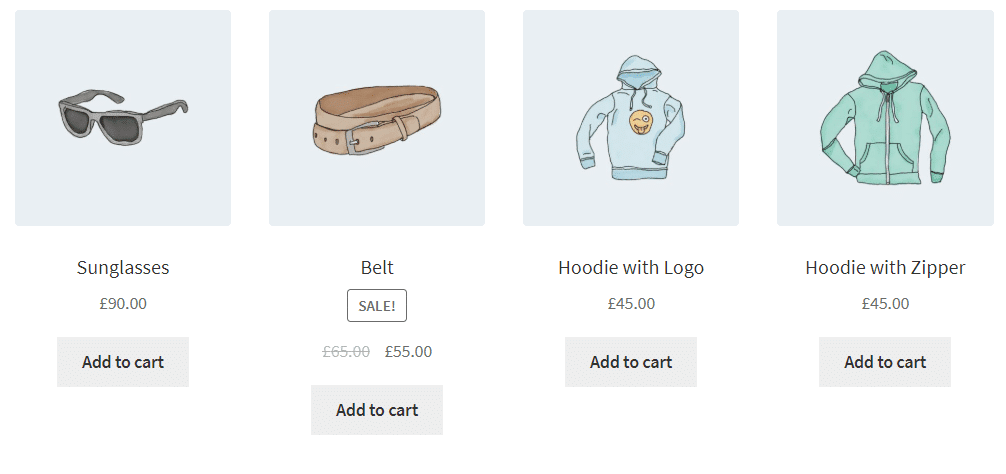
One final thing to point out before we wind this section up is that the “woocommerce_shortcode_products_query” filter allows you to alter lots of different aspects of the product query, not just the way products are ordered. As an example, here’s a code snippet from Stack Overflow that allows you to limit the products by date range –
function display_only_recent_products( $args, $atts ){

    $args['date_query'] = array(
        array(
            'after'     => '15 days ago',
            'inclusive' => true,
        ),
    );

    return $args;

}

add_filter( 'woocommerce_shortcode_products_query', 'display_only_recent_products', 10, 2 );
Get your Store Categories Noticed with the Product Category shortcode
As well as the “Product” shortcode WooCommerce also provides two product category shortcodes “product_category” and “product_categories”.
Although the shortcode names are similar, their functionality is quite different. The “product_categories” shortcode returns product categories whereas the “product_category” shortcode returns products within a category.
Let’s look at the “product_categories” shortcode now. As with the “Product” shortcode I’ve provided a generator for the shortcode below.
Some Examples of the product_categories Shortcode
As we did with the product shortcode, I’ve added a number of example shortcodes below. If you want to play with one of the examples in the generator then click the “Populate Generator with Details” button, you’ll find the button for each shortcode below the shortcode text..
A number of the arguments to the “product_categories” use category id values, to make things clearer, the examples below will all use the following categories and corresponding ids.
Clothing – Id 16
Accessories – Id 19
Hoodies – Id 18
T-shirts – Id 17
Example 1 – Get all the Children of a Specific Category
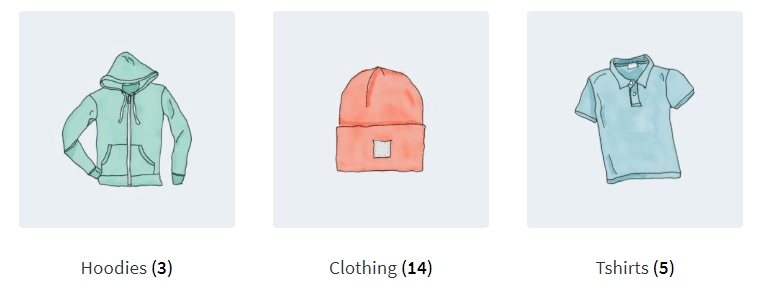
We can get all the children of the clothing category by passing the clothing category id as the “parent” argument, as you can from the image below the categories are returned in alphabetical order.
[product_categories parent="16"]
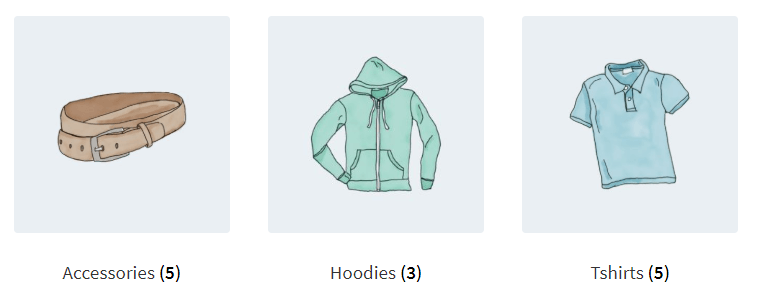
Example 2 – Get all the Children of a Specific Category in Reverse Alphabetical Order
We can change the shortcode above slightly to get the categories to appear in reverse alphabetical order, to do this we add the “order” attribute and add the vale “desc”
[product_categories parent="16" order="desc"]
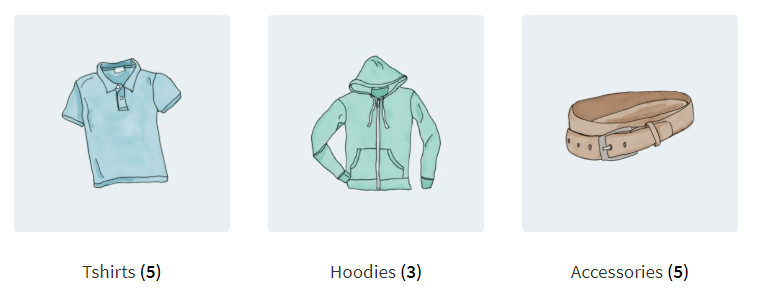
Example 3 – Get all the Categories with no Parents (top-level categories), and Show 2 Categories in each row
If we want to display categories with no parents then we can do this by passing a”0″ value to the parent argument, by setting the columns argument to 2 we restrict the display to two categories on each row.
[product_categories parent="0" columns="2"]
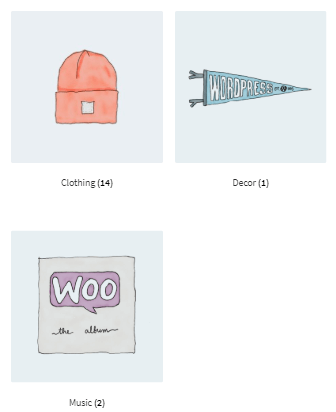
Example 4 – Display Categories by Id, order the Categories in the same Order as the ids were Supplied
If we want to specify the category ids to display we can do that by passing a comma-delimited list to the “ids” argument. If we set the “orderby” argument to “include” then the categories will be displayed in the same order as they appear in the comma-delimited string.
[product_categories ids="18,16,17" orderby="include"]
The Product and Related Products Shortcodes
If you want to add product details to a page you can use the product page shortcode. To use it just add one of the following shortcodes to your page
[product_page id="99"]
[product_page sku="FOO"]
As you can see, you can use either an “id” or “sku” parameter to specify the product you wish to display. Once you’ve added the shortcode you should see something similar to the image below
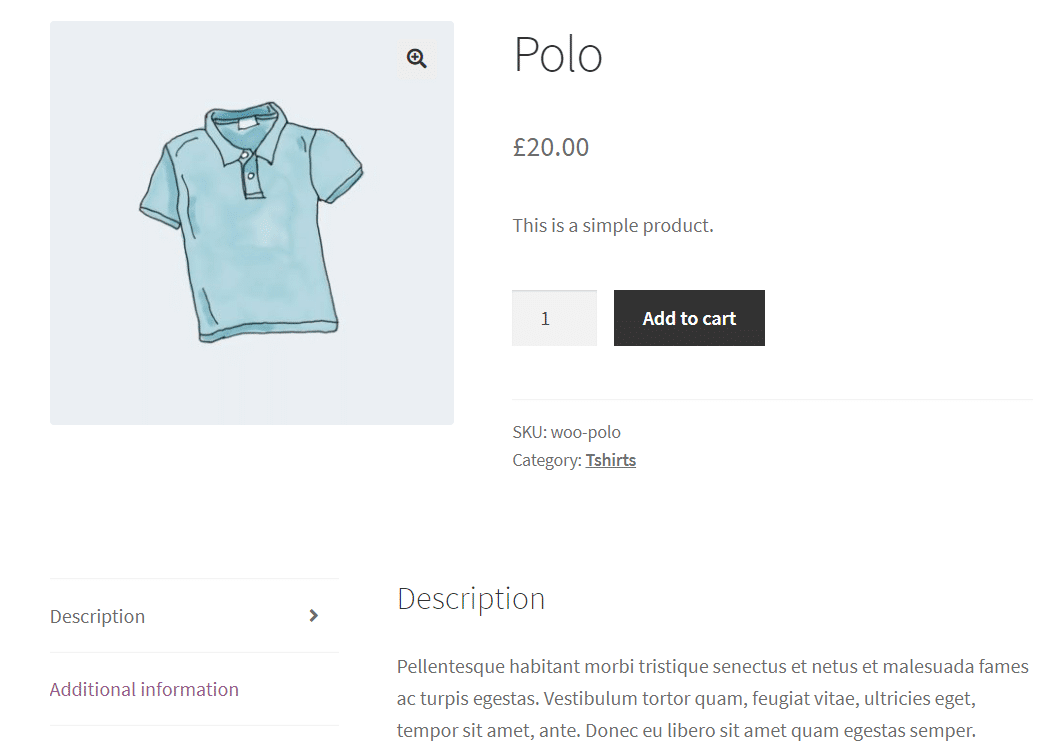
To save space, I haven’t included everything that appears when the shortcode is added, in addition to what is pictured above the shortcode will also display related products linked to the chosen product.
Woocommerce also provides a shortcode that only displays related products, you can read more about that in our next section.
Related Products
How to add the related products shortcode
To add related products to your page add the following code
[related_products limit="12"]
This will display up to 12 products related to the current product.
Is it possible to supply a product id or SKU to the Related Product Shortcode?
No. The shortcode will only work on a page where the global $product variable has been defined. If the shortcode is added to a page that does not have the global variable defined then the shortcode will not display any mark-up.
What arguments can I use with the Related Product Shortcode?
It is possible to use a number of additional arguments with the related products shortcode, they are as follows –
“limit” – As with the “products” and “product_category” shortcode, this controls the maximum number of related products shown, the value defaults to 12.
“columns” – This controls the maximum number of products shown on each row, if no value is supplied then it defaults to 4.
“orderby” – Controls the order the products are displayed in, if no value is supplied then the default is to order by title
How to make adding links to buy your Products a cinch with the Add to Basket Shortcodes
If you’re running a WooCommerce store you probably want to blog about your products, if you sell fish feeders you might want to write an article about how awesome your feeders are and the huge number of problems they can solve for your customers.
Whilst writing about the benefits of your products it’s nice to be able to provide your customers with links to instantly add the products to their baskets. The “add_to_cart” and “add_to_cart_url” shortcodes are ideal for this.
We’ll look at the “add_to_cart” shortcode first.
In it’s simplest form you would use the shortcode like this –
[add_to_cart id="31"]
This will show the price of the product with id 31 and a button that when clicked will add product 31 to the user’s basket. When displayed on a page the content will look similar to the image below

Note that we can also call the “add_to_cart” shortcode using SKU Instead of id and the functionality will be exactly the same.
[add_to_cart sku="YOURSKUHERE"]
Changing the Appearance of the Add to Cart Shortcode
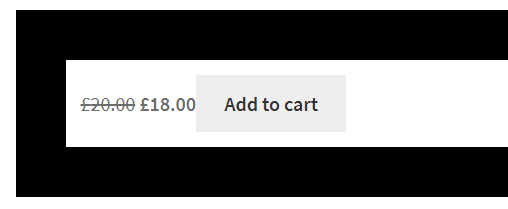
WooCommerce provides two different ways to change the appearance of the “add_to_cart” shortcode. Firstly, we can pass a style argument to the shortcode. In the WooComerce code the style value is defaulted to “border:4px solid #ccc; padding: 12px;” you can see this reflected in the image above. We could change to the value to show a thicker black border
[add_to_cart id="31" style="border:40px solid #000; padding: 12px;"]
then we will see the change as below
It is also possible to supply a custom class of your own that corresponds to a css class you have defined elsewhere.
[add_to_cart id="31" class="your_css_class_here"]
If you want to hide the price from showing you can do that by passing the value “false” to the “show_price” argument
[add_to_cart id="31" show_price="false"]
Increasing the Quantity added to the Basket
You can increase the number of products added to the basket by supplying a value to the “quantity” argument.
[add_to_cart id="31" show_price="false"]
Note that changing this value makes no visual changes, but when the “Add to Cart” button is clicked the specified number of products will be added to the cart.
We’ll now take a look at the “add_to_cart_url” shortcode.
The “add_to_cart_url” shortcode only takes one argument, the argument can either be a product id or a SKU
[add_to_cart_url id="31"]
or
[add_to_cart_url sku="PRODUCTSKUHERE"]
Unlike the “add_to_cart” shortcode the “add_to_cart_url” shortcode does not render any mark-up it only returns a URL that will add the specified product to the current user’s basket.
So, on their own, either of the two shortcodes above would display something like this

In order to create a working link you would need to add markup to the shortcode, the code below should work in either the Guttenberg or classic editor
<a href='[add_to_cart_url id="31"]'>Add to cart</a>
Some Final Thoughts
Hopefully, this article has helped you to understand the WooCommerce shortcodes, if you do need to look for some further in-depth information you could check out the official documentation, or take a look at the code file below
https://github.com/woocommerce/woocommerce/blob/master/includes/class-wc-shortcodes.php
Click here for more details about the "Learning WooCommerce Development By Example" book
If you feel there’s anything that we’ve missed in the guide, or you have any further questions, queries or corrections to make please don’t hesitate to let us know in the comments, we’d love to hear from you.


Is it possible to have a random product become the featured product, every time a user visits the page?
The shortcode example above seems to work only when you manually make some products featured inside WooCommerce in the admin panel.
Hi Erik,
If you wanted to randomly display a featured product you could use
[products limit=”1″ columns=”1″ visibility=”featured” orderby=”rand”]
If you wanted to randomly show any product then this should work
[products limit=”1″ columns=”1″ orderby=”rand”]
Is it possible to change the styling of the Product Category shortcode, such as having a button CTA rather than just the category name, and removing the number of items in the category?
Hi Jennifer,
I don’t think it’s possible to alter the display of the products via the shortcode.
You’d need to use actions and filters such as “woocommerce_subcategory_count_html” and “woocommerce_template_loop_category_link_open” to do what you’re after.
Is there any plugin that I could display the product grid data including my created product custom fields? Or any plugin that could help to create my product shortcode?
The default shop page product grid data is product name, price, on-sale tag, … I would like to add my custom field there.
Thanks a lot
Hi SK,
It should be possible to do what you require with a code snippet, I have blog post about it here http://bravenewworld101-001-site11.dtempurl.com/woocommerce-add-custom-data-to-the-shop-screen/